
Docker ate your disk: which of the four caches is full, and how to reclaim it safely
The symptom is always the same. A build fails with no space left on device, or a container refuses to start, and df -h shows the root filesystem at 100%. You look, and /var/lib/docker is tens of gigabytes. The instinct is to run docker system prune -a and hope. Sometimes that works. Sometimes it frees almost nothing and you are none the wiser about what actually ate the disk.
Docker splits its usage into four buckets, and each one is reclaimed differently, with different risk. This is how to find out which bucket is full before you delete anything, what prune quietly leaves behind, and the order to run things when the disk is already at zero.
Start with docker system df, not with prune
Do not delete anything until you know what you are deleting. docker system df is the map:
Four rows: images, containers, local volumes, build cache. The two columns that matter are SIZE (what it occupies) and RECLAIMABLE (what you could free without touching anything in use). The trap is the ACTIVE count. "Active" means referenced by a running or existing container right now — it does not mean "important". An image with a stopped container attached still counts as active for that container, which is why the numbers can look contradictory.
Add -v and Docker lists every image, container and volume individually with its own size and reclaimable figure:
Now you can see the single 4GB image nobody uses, or the anonymous volume from a container you deleted last month. Read this before you decide anything. It tells you which of the sections below you actually need.
What docker system prune touches — and what it does not
This is where most people go wrong. Per the Docker pruning documentation, plain docker system prune removes:
- all stopped containers
- networks not used by any container
- dangling images (untagged layers with no tag pointing at them)
- unused build cache
Note what is missing. By default it does not remove tagged images that simply happen to be unused, and it does not touch volumes at all. So if your disk is full of old tagged images or of volume data, the default prune frees the build cache and dangling layers and reports a modest number, and you are left confused about the other 12GB.
| CommandRemovesLeaves alone | ||
docker system prune | Stopped containers, unused networks, dangling images, unused build cache | All volumes; tagged images not currently dangling |
docker system prune -a | Everything above plus every image not used by a running container | All volumes |
docker system prune -a --volumes | Everything above plus unused anonymous volumes | Named volumes |
The -a flag is the one that surprises people. It does not just clean harder — it removes every image not attached to a running container. On a CI box that is usually fine. On a host where you keep base images around to avoid re-pulling gigabytes every deploy, -a will delete all of them, and your next docker compose up re-downloads the lot. That is not corruption, but it can turn a two-second start into a ten-minute one on a slow link.
Volumes: named survive, anonymous do not
Which volumes a prune touches depends on the exact command, and this is the one place where getting it wrong costs you data. docker system prune --volumes removes only anonymous unused volumes and leaves named ones alone. But docker volume prune --all (or -a) does remove unused named volumes too — it is the most destructive variant of any of these, and the flag is easy to add out of habit. This is deliberate: a named volume is assumed to hold data you care about (a database, uploaded files), so Docker refuses to guess.
Anonymous volumes are the ones that pile up. Every time an image declares VOLUME and you run it without a -v name, Docker creates a random-hashed volume. Delete the container and the volume stays. List them before you prune:
If you see long hex names with no container attached, those are the reclaimable ones. When you run docker volume prune, read the list it prints before you confirm — this is the one prune operation that can destroy data you meant to keep.
Build cache grows on a CI box, but it is not unbounded
A common belief is that the BuildKit cache grows forever until it fills the disk. On current versions it does not. BuildKit runs periodic garbage collection with a default keep-storage limit — the Docker garbage collection docs put the Docker driver default at 20GB (defaultKeepStorage), with separate reserved and maximum thresholds for standalone BuildKit workers.
The catch: 20GB of cache is more than enough to fill a small CI runner with a 40GB root disk, and GC is periodic rather than instant, so a burst of builds can briefly exceed the target. If build cache is your biggest row in docker system df, clear it directly and lower the ceiling instead of waiting for GC:
To cap it permanently on a build host, set the policy in /etc/docker/daemon.json:
overlay2 keeps space after the container is gone
/var/lib/docker/overlay2 is where the layer filesystems live, and it is the directory that scares people because it is huge and full of hashes. The rule is simple: never delete anything under overlay2 by hand. Those directories are referenced by Docker's own metadata, and removing them out from under the daemon is a reliable way to corrupt the installation. The practical-cleanup writeups that circulate all land on the same warning — one from November 2023 calls the manual route "the danger zone" and treats deleting /var/lib/docker as a full reset of last resort.
What confuses people is that overlay2 can stay large after you have removed the images and containers you think were responsible. A long-running moby issue documents exactly this: docker images -aq returns nothing, yet gigabytes remain in overlay2 because layers stay pinned by references you cannot see from the image list. The fix is not rm. It is ordering:
- Run
docker container prunefirst. A stopped container pins its image, so while that container exists the image looks non-reclaimable anddocker image prune -askips it. - Then run
docker image prune -a. With the containers gone, the previously pinned images become removable and their overlay2 layers get collected.
Do it in the other order and you will swear prune is broken, because the images that were holding the space are precisely the ones it refused to touch.
The log file that fills the disk while you are not looking
This is the failure mode that catches experienced people, because nothing in docker system df points at it. A container that writes to stdout — a chatty app, a crash loop, anything logging on every request — has its output captured by the json-file logging driver and written to /var/lib/docker/containers/<id>/<id>-json.log. By default that file has no size limit. It grows until the disk is full.
Find the offenders:
When you are already at 100% and need breathing room now, truncate the log in place — this frees the space immediately without restarting the container:
That is first aid, not a fix. The permanent fix is a size cap. Set it as the daemon default in /etc/docker/daemon.json:
Then restart Docker with systemctl restart docker. Here is the part the json-file driver docs make explicit and people miss: this only applies to containers created after the restart. Existing containers keep their old logging config. Editing daemon.json does nothing for the container that is filling your disk right now. You have to recreate it — docker compose up -d --force-recreate <service>, or docker rm and run again — for the cap to take hold. Values in log-opts must be strings, quotes included, or the daemon refuses to start.
The safe order when the box is already at 100%
When there is genuinely no free space, some commands cannot even run (a build needs scratch space; sometimes prune itself struggles). Work from least to most destructive, checking df -h after each step:
- Buy immediate room. Truncate the largest container log with the
truncate -s 0command above. This is instant and reversible in effect (the app keeps running). - Map the damage. Run
docker system dfand thendocker system df -v. Decide which row you are fighting. - Reap stopped containers.
docker container prune. Do this before any image cleanup so pinned images are freed. - Clear build cache if that row was large:
docker builder prune -a. - Remove dangling images first with
docker image prune. Only reach fordocker image prune -aonce you accept that unused tagged images will be re-pulled later. - Volumes last, and by hand. Run
docker volume ls, confirm which are anonymous, thendocker volume pruneand read its list before confirming. Never rundocker volume prune --allon a box you do not fully know: that is the one that takes unused named volumes with it. A plainsystem prune --volumesis safer, but still confirm the list first — a stopped database container makes its volume look unused. - Fix the cause. Set
log-optsindaemon.json, cap the builder GC, restart the daemon, and recreate the containers so the new limits actually apply.
The one thing that stays off this list at every step is deleting files under /var/lib/docker/overlay2 yourself. If prune in the right order does not reclaim the space, the answer is to investigate the reference holding it — not to reach for rm -rf in the storage directory.
If you are running this on a small VPS where the whole root disk is 25–40GB, the real lesson is capacity planning: put /var/lib/docker on a separate volume or size the disk for your image churn before it bites. Our initial VPS setup checklist covers partitioning early, and if the symptom you actually have is a container you cannot reach rather than a disk you cannot free, start with why a Docker container port is not accessible instead.
When pruning is not enough
If the disk fills up again a week after a clean prune, the workload has outgrown the disk rather than leaked into it. On Karizanta's UK VPS, Sweden VPS and Netherlands VPS plans, disk, RAM and vCPU can be upgraded from the client area with a single reboot, and your data and IP address stay exactly as they are.
Sources
- Prune unused Docker objects — Docker Docs (unknown)
- JSON File logging driver — Docker Docs (unknown)
- Garbage collection — Docker build cache — Docker Docs (unknown)
- Docker does not free up disk space after container, volume and image removal (moby/moby #32420) (2017-04)
- Docker Overlay2 Cleanup: 5 Ways to Reclaim Disk Space (2023-11)
Frequently asked questions
Why does docker system prune free almost no space?
Because by default it only removes stopped containers, unused networks, dangling images and unused build cache. It leaves every volume untouched and every tagged image that is not dangling. If your disk is full of tagged images or volume data, run docker system df first to see which of the four buckets is actually full, then target that one.
What is the difference between docker system prune and docker system prune -a?
The -a flag additionally removes every image not attached to a running container, not just dangling ones. On a CI box that is fine. On a host where you keep base images to avoid re-pulling gigabytes, -a deletes them all and your next start re-downloads everything. Neither flag touches volumes unless you add --volumes.
Why does /var/lib/docker/overlay2 stay large after I delete images and containers?
Layers stay pinned by references you cannot see in the image list, most often stopped containers. Run docker container prune first, then docker image prune -a; done in that order the pinned layers get collected. Never delete directories under overlay2 by hand — that corrupts the Docker installation.
I set log-opts max-size in daemon.json but a container is still filling the disk. Why?
Logging changes in daemon.json only apply to containers created after you restart Docker. Existing containers keep their old config. You must recreate the container (docker compose up -d --force-recreate, or docker rm and run again) for the size cap to take effect. To free space immediately, truncate its current log file to zero.
Does the Docker build cache grow without limit?
No. On current versions BuildKit runs periodic garbage collection with a default keep-storage of 20GB for the Docker driver. But 20GB can still fill a small CI disk, and GC is periodic rather than instant, so clear it directly with docker builder prune -a and lower defaultKeepStorage in daemon.json if it is your largest usage row.
Related reading
Your container runs but the port is unreachable: the four places it breaks
A running container with an unreachable published port has four separate causes, and they produce nearly identical symptoms in a browser. Here is the diagnosis order using docker port, ss on the host and inside the namespace, and iptables -t nat -L DOCKER — and why ufw deny lies to you.
Read more →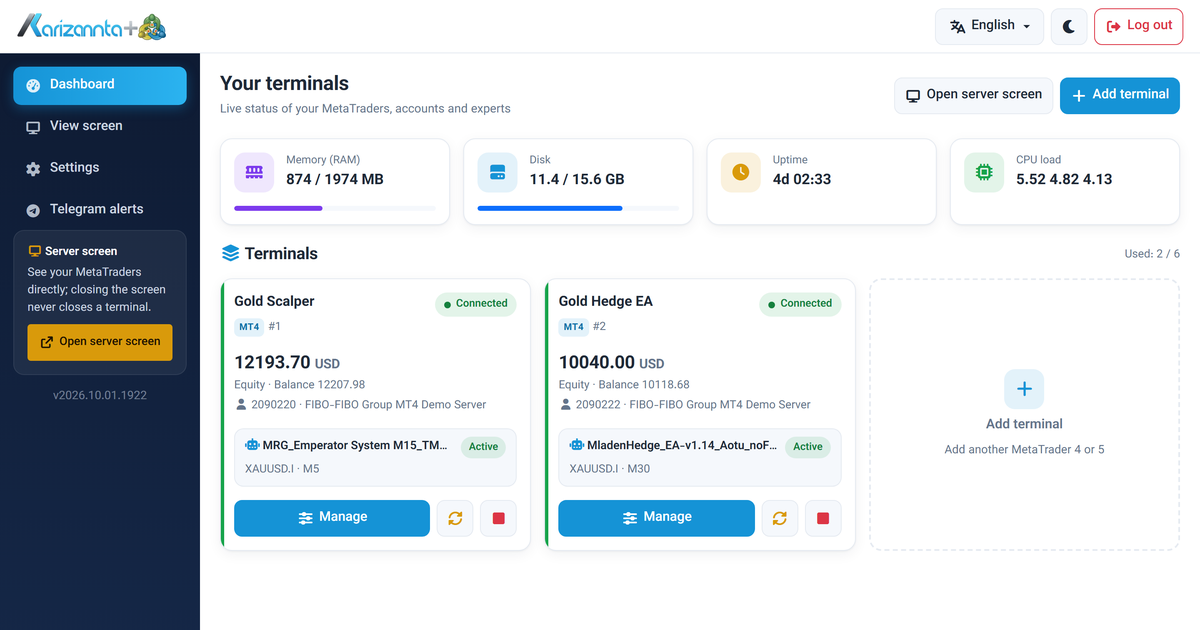
MetaTrader VPS on Linux: Run MT4 and MT5 Expert Advisors 24/7
A MetaTrader VPS that keeps MT4 and MT5 running on its own: automatic re-login after every restart, a web panel for accounts and expert advisors, and Telegram alerts. A tour with screenshots.
Read more →
Self-host n8n on a VPS with Docker and Postgres
A complete, copy-pasteable path to run n8n on your own Ubuntu VPS with Docker Compose and Postgres: the environment variables that matter, nginx and TLS, and the webhook, timezone and queue-mode traps that catch everyone.
Read more →