
How to Register an International Domain (Step-by-Step)

People search for international domain registration expecting one process. There are four, and they share almost nothing — different registrars, different eligibility, and costs that range from about ten dollars a year to USD 227,000. Before you can register anything you have to work out which of the four you mean. The table below is the fastest way to do that.
Understanding “international domain”
The term creates confusion because it encompasses four distinct concepts:
| What you probably mean | What it actually is | Who can register | Typical cost |
|---|---|---|---|
| A domain that works worldwide | Any generic TLD (.com, .org, .net, .io) | Anyone, anywhere | ~$10–$50 / year |
| A domain in my own language or script | An internationalized domain name (IDN) | Anyone, on TLDs that support it | Same as a normal domain |
| The .int domain | A restricted TLD for treaty organizations | Intergovernmental bodies only | Free — but you almost certainly can’t qualify |
| Register / run my own TLD | ICANN’s New gTLD Program | Established organizations | USD 227,000+ (2026 round) |
Most people seeking “international domain registration” need a generic TLD, which already functions globally at modest cost. A .com registered from anywhere resolves everywhere — the internet has no border a domain has to cross. If that is you, the seven steps below are the whole job. The other three cases are covered after them.
Seven steps to register a domain
Step 1: Choose a name that survives contact with reality
- Use the “say aloud” test — avoid names that need spelling clarification
- Check trademarks in your target markets before committing
- Verify social-media handle availability for brand consistency
Step 2: Pick the right extension (TLD)
.com remains the default people type on autopilot — if it’s available, take it. Reasonable alternatives include .net, .org, .io, .dev, and .shop. Newer generic TLDs such as .world, .site, .online and .store are open to anyone and register exactly like .com through any accredited registrar; being generic, they work globally with no local-presence rule. If you searched for how to register a .world domain specifically, that is all it is — there is no separate process, just pick it at checkout.
The one thing to check on any newer TLD is the renewal price, not the headline. First-year promotional rates on these extensions are frequently a small fraction of what the name renews at, and the jump lands twelve months later when you’ve already built on it. If a listing shows you a first-year price, find the renewal price on the same page before you commit — a promo without its renewal figure beside it is the part they’re hoping you won’t read. Our own domain pricing lists what each extension actually costs to hold.
Generic TLDs vs. country-code TLDs: generic TLDs are location-independent and truly international. Country-code TLDs signal a specific region; some open globally (.io, .me, .is) while others require local presence. We cover that trade-off in .com vs country-specific domains.
Step 3: Check availability — carefully
- Use your registrar’s search or a WHOIS lookup
- Avoid “close” variations that redirect to someone else’s site
- Register immediately once you find the name, to prevent front-running
Step 4: Register through a reputable registrar
Required at checkout:
- Registrant contact details (use a real email — it is your ownership proof)
- WHOIS privacy: enable it to protect personal data and reduce spam
- Registration period: one year is fine; multi-year locks in today’s price against increases
- Skip upsells you don’t yet need
Step 5: Secure the account
Your registrar account controls your domain. Implement:
- Two-factor authentication
- A unique password
- Registrar lock (usually on by default) to block unauthorized transfers
Step 6: Point it somewhere (DNS)
Set nameservers to your hosting provider, or manage DNS manually:
Arecord → server IP addressCNAMEforwww→ root domainMXrecords → for domain-based email
DNS propagation typically takes minutes to a few hours.
Step 7: Set renewal to automatic
Enable auto-renew and keep your payment method current. More good domains are lost to expired credit cards than to hackers.
Registering an internationalized domain name (IDN)
An IDN is how you register a domain in your own script — Arabic, Cyrillic, Han, Turkish, accented Latin. On the wire, DNS still only carries ASCII, so the name is encoded into Punycode with an xn-- prefix. Your browser converts between the two automatically; you type the native script and it resolves the ASCII form underneath.
Worked example. The Arabic name مثال.إختبار means “example.test.” It is stored and resolved in the DNS as xn--mgbh0fb.xn--kgbechtv — one xn-- label per dot-separated part. Nothing you do as a registrant changes this; the encoding happens for you. What matters is that the ASCII form is what actually lives in the zone, which is why an IDN can never cost more to route than an ASCII name.
Registration follows the seven standard steps, with two additions:
- Script support varies by TLD. A registry only accepts the code points it has published a rule set for — ICANN calls these Label Generation Rulesets, and each one is tied to a specific script or language. Confirm your chosen extension supports your script before you try to buy the name. Not every TLD accepts every script.
- You will be asked to declare a language or script. This is not a formality. ICANN’s IDN guidelines have registries publish code-point lists tied to a script or language, and RFC 4290 suggests associating a registration with a language as best practice rather than as a hard rule. Pick a script or language your characters are not valid under and the registration can be rejected.
Homograph caution. Some characters are identical across scripts — a Latin a and a Cyrillic а render the same but are different code points, which is the basis of a class of phishing lookalikes. IDNA2008 (RFCs 5890–5894) and registry rules restrict mixing scripts within a single label to limit this, and browsers may show the raw xn-- form for suspicious mixed-script names rather than the pretty version.
Pricing: IDNs cost the same as standard names on their TLD. There is no “international” premium. Some registries bundle script variants of a name as a set.
The .int domain: eligibility restrictions
The .int TLD is one of the internet’s most restricted, and it is not a branding option. You do not register a .int domain through a commercial registrar — there is no reseller channel. The application goes directly to IANA, which administers the zone under long-standing delegation policy, and IANA vets eligibility by hand.
- Eligibility: organizations established by an international treaty between governments, that are widely considered to have independent international legal personality and are governed by international law — plus UN specialized agencies and organizations with UN General Assembly observer status.
- Requirements: you must demonstrate creation by the treaty itself and provide the certified treaty documentation. IANA reviews it.
- Cost: free.
- Limitation: one name per qualifying organization; infrastructure and shared-database registrations are no longer accepted.
- Practical reality: the register is effectively the UN system, NATO, and comparable intergovernmental bodies.
Companies, startups, and individuals cannot qualify at any price. If you are one of those and you came here to register a .int domain, this is the step to stop at — pick a generic TLD instead.
How to register a new TLD
“How to register a TLD” splits two ways, and the two are worlds apart in cost. If you mean registering a name under an existing TLD — a .world or .io — that’s the seven-step process above. If you mean running your own TLD — being the registry for everything to the right of the dot — that is ICANN’s New gTLD Program, a corporate infrastructure project rather than a purchase.
2026 application round:
- Base evaluation fee: USD 227,000 per application
- Window: the round opened 30 April 2026 and closed 12 August 2026, drawing more than 1,600 applications
- Excludes: registry back-end operation, legal work, and ongoing operating costs — the real budget runs well past the application fee
Applicant Support Program: applicants who demonstrate financial need can receive a 75–85% reduction on the evaluation fee, bringing it as low as roughly USD 34,050, along with training and pro-bono support. It does not reduce the operating cost of actually running a registry afterward.
Reality check: for a business or a personal brand, a memorable name on an existing TLD beats owning a proprietary one. The next application round is not scheduled at a fixed cadence, so this is not a near-term option for most.
Alternative for treaty bodies: a qualifying organization can be given a third-level name under a parent domain — for example example.un.int — without applying to run anything.
Quick recap
- Clarify which “international” applies — most people need a generic, globally available TLD.
- Choose a short, spellable name; check trademarks and social handles.
- Prefer .com; on any newer TLD, verify the renewal price, not the promo.
- Register the same day with WHOIS privacy on.
- Enable 2FA and transfer lock on the registrar account.
- Configure DNS and turn on auto-renew.
- Non-Latin scripts use an IDN at standard pricing; .int and running your own TLD carry special eligibility and, in one case, a six-figure fee.
Do it once, properly, and your domain becomes the one part of your infrastructure you never have to think about.
Frequently asked questions
What is an international domain name?
Usually a generic top-level domain not tied to one country and working worldwide. It can also mean an IDN written in a non-Latin script, or — rarely — the restricted .int TLD for treaty organizations.
How do I register an international domain?
For a globally available generic TLD, follow the seven steps: choose the name, pick the extension, check availability, register through a reputable registrar with WHOIS privacy, secure the account with 2FA and a transfer lock, configure DNS, and turn on auto-renew.
Can anyone register a .int domain?
No. It is limited to intergovernmental organizations established by treaty, which must supply certified proof. Registration is free and handled directly by IANA, not a registrar — but companies and individuals cannot qualify.
How do I register a new TLD?
Apply to ICANN’s New gTLD Program. The 2026 round ran 30 April–12 August 2026 with a USD 227,000 base evaluation fee, excluding operating costs. It is meant for established organizations that want long-term control of a namespace, not for branding a single site.
Do domains in non-Latin scripts cost more?
No. IDNs price the same as other names on the TLD, though some registries bundle script variants together. There is no “international” premium — just confirm the TLD supports your script first.
Related reading
- .com vs Country-Specific Domains: Which Should You Choose?
- Karizanta domain pricing
- Shared Hosting vs VPS in 2026: Where the Real Breakpoint Is
Sources
- IANA — .int domain registration and eligibility (unknown)
- gTLD Evaluation Fee FAQs — ICANN New gTLD Program 2026 Round (2026)
- ICANN 2026 Round Closes with More Than 1,600 New gTLD Applications (2026-08)
- Guidelines for the Implementation of Internationalized Domain Names (v3.0) (2011-09)
- RFC 4290: Suggested Practices for Registration of Internationalized Domain Names (IDN) (2005-12)
- IANA — IANA-managed Reserved Domains (IDN test labels) (unknown)
Frequently asked questions
What is an international domain name?
Usually a generic top-level domain not tied to one country and working worldwide. It can also mean an IDN written in a non-Latin script, or — rarely — the restricted .int TLD for treaty organizations.
How do I register an international domain?
For a globally available generic TLD, follow seven steps: choose the name, pick the extension, check availability, register through a reputable registrar with WHOIS privacy, secure the account with 2FA and a transfer lock, configure DNS, and turn on auto-renew.
Can anyone register a .int domain?
No. It is limited to intergovernmental organizations established by treaty, which must supply certified proof. Registration is free and handled directly by IANA, not a commercial registrar — but companies and individuals cannot qualify.
How do I register a new TLD?
Apply to ICANN's New gTLD Program. The 2026 round ran 30 April–12 August 2026 with a USD 227,000 base evaluation fee, excluding operating costs. It is meant for established organizations wanting long-term control of a namespace, not for branding a single site.
Do domains in non-Latin scripts cost more?
No. IDNs price the same as other names on the TLD, though some registries bundle script variants together. There is no 'international' premium — just confirm the TLD supports your script first.
Related reading
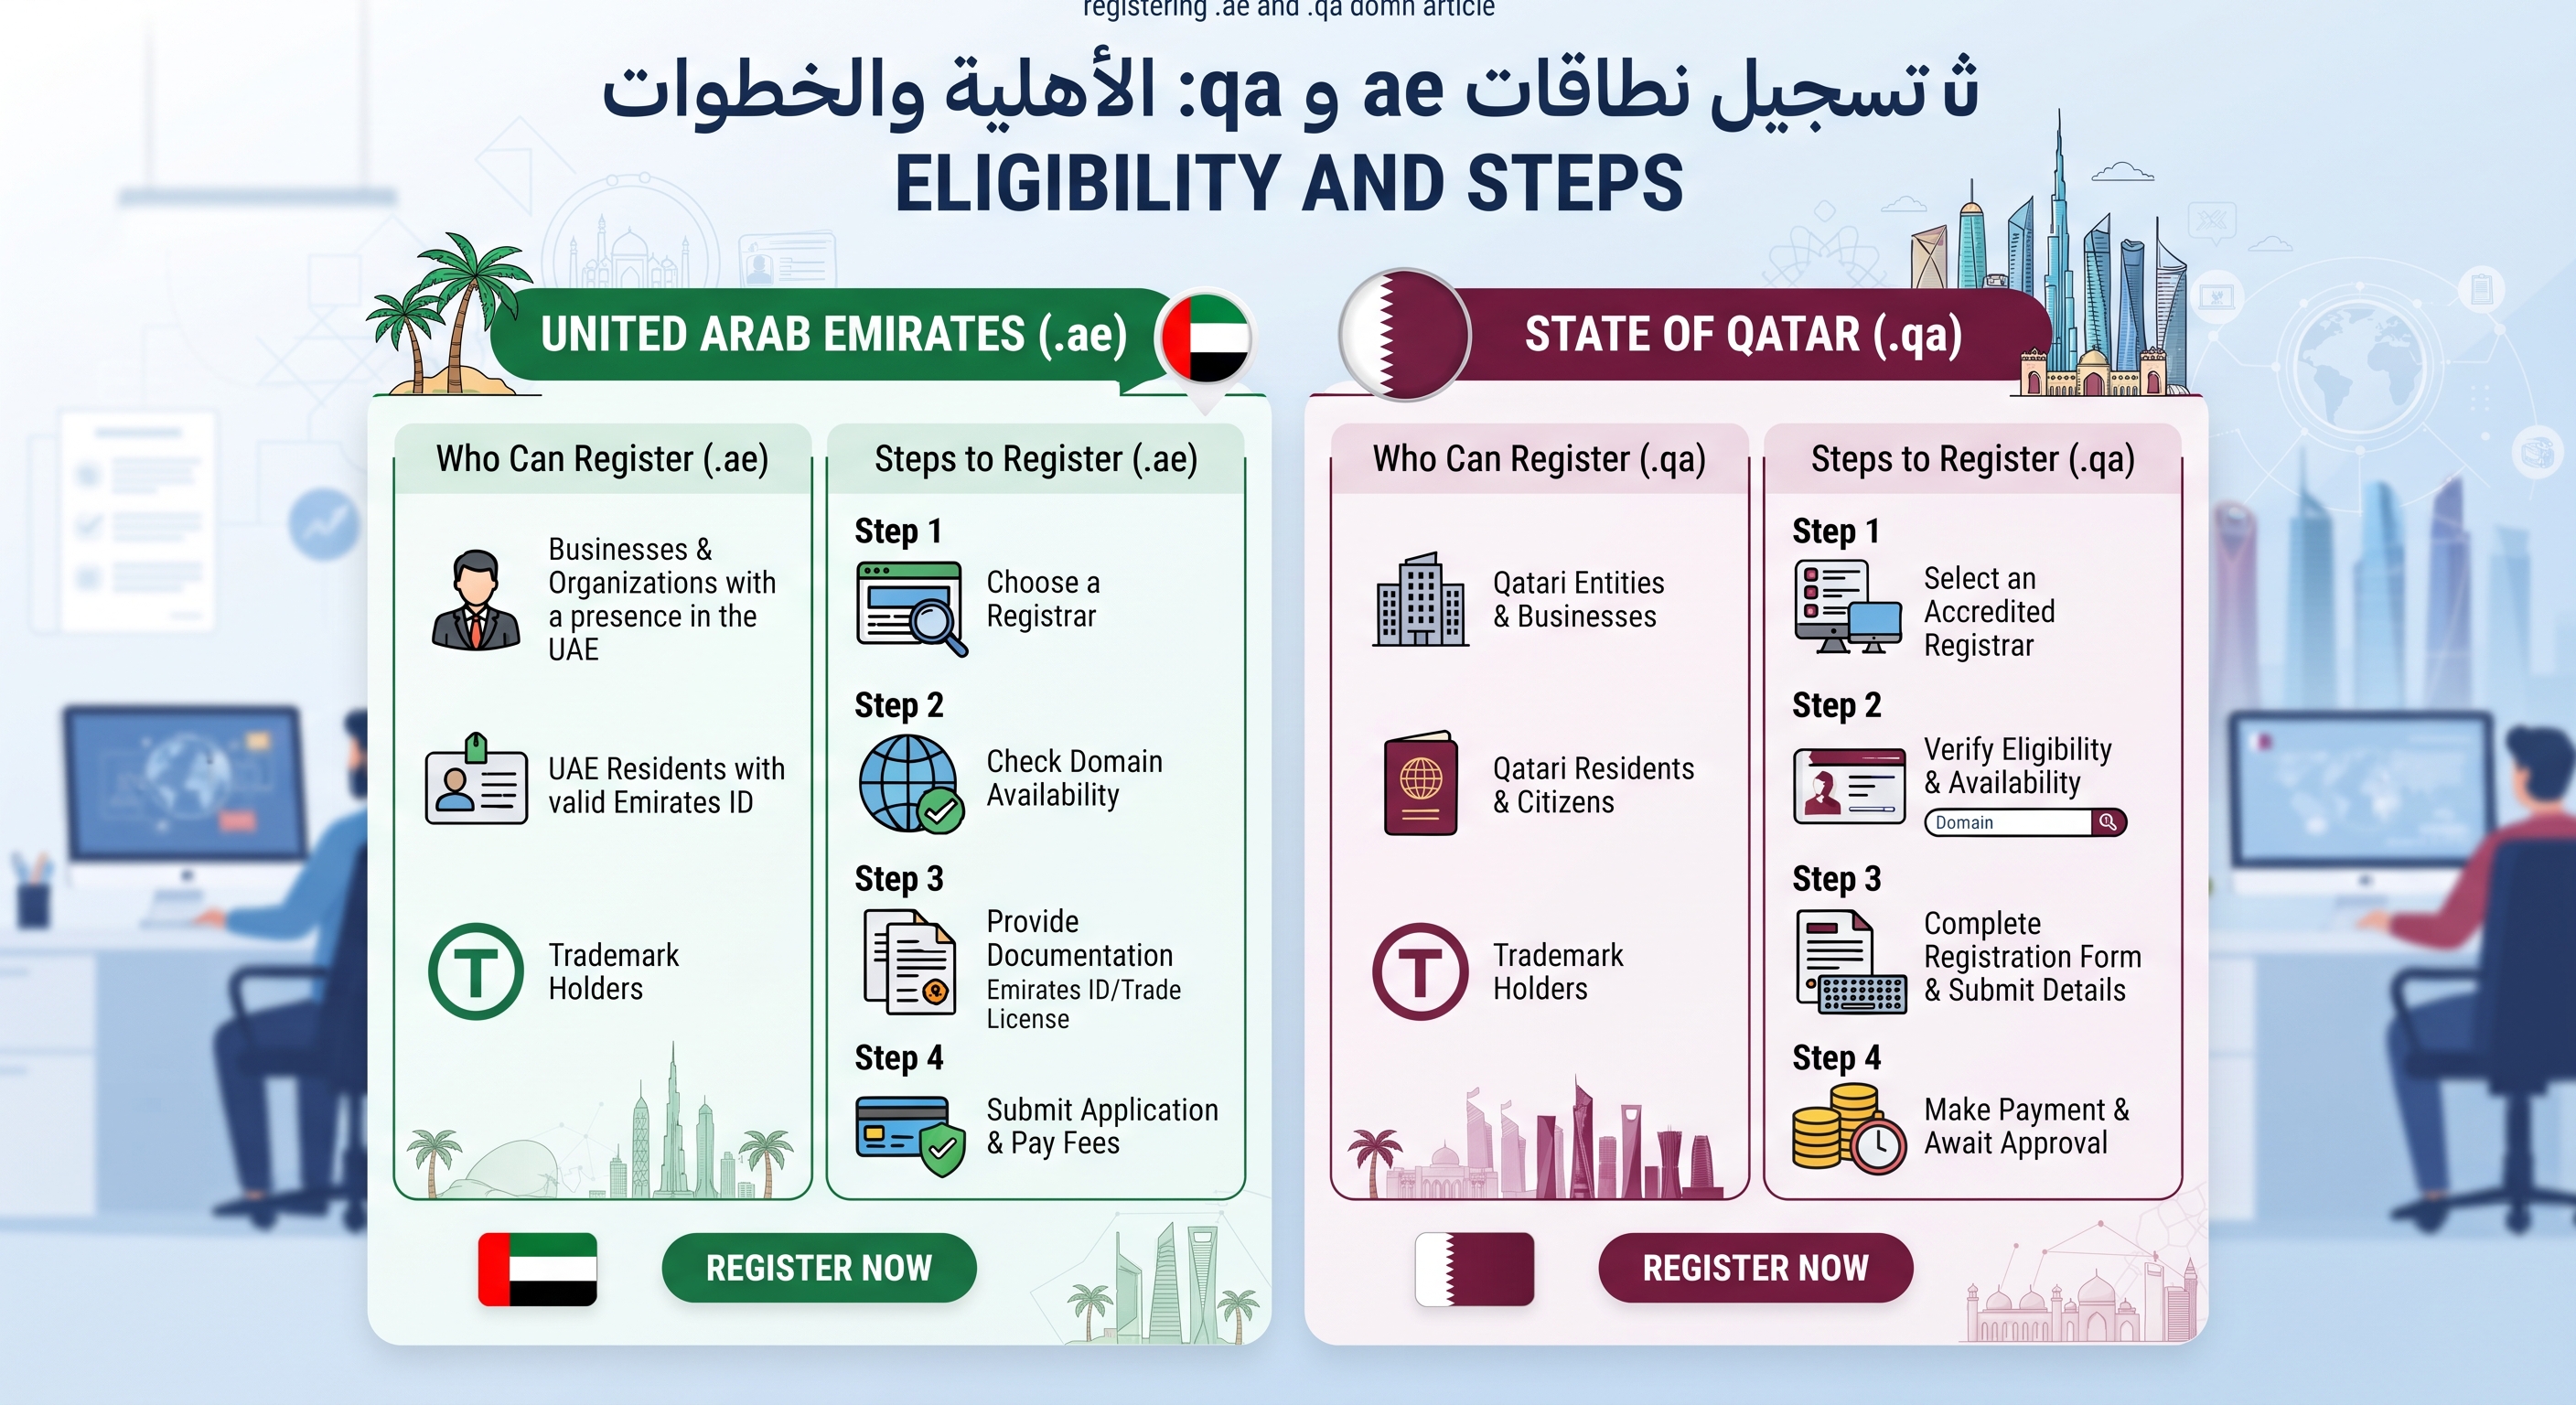
Registering .ae and .qa domains: eligibility and steps
The .ae and .qa spaces are run by regulators with written eligibility rules, and some extensions are closed to anyone without a local licence. Here is who can register .ae, .co.ae, .net.ae and .qa, what documents are needed, and how renewal works.
Read more →
.com vs Country-Specific Domains: Which Should You Choose?
A ccTLD like .de or .co.uk ties your site to one country; .com belongs to none. This guide explains what each really is, how Google treats them for geo-targeting, the registration rules that catch people out, and a simple table for deciding.
Read more →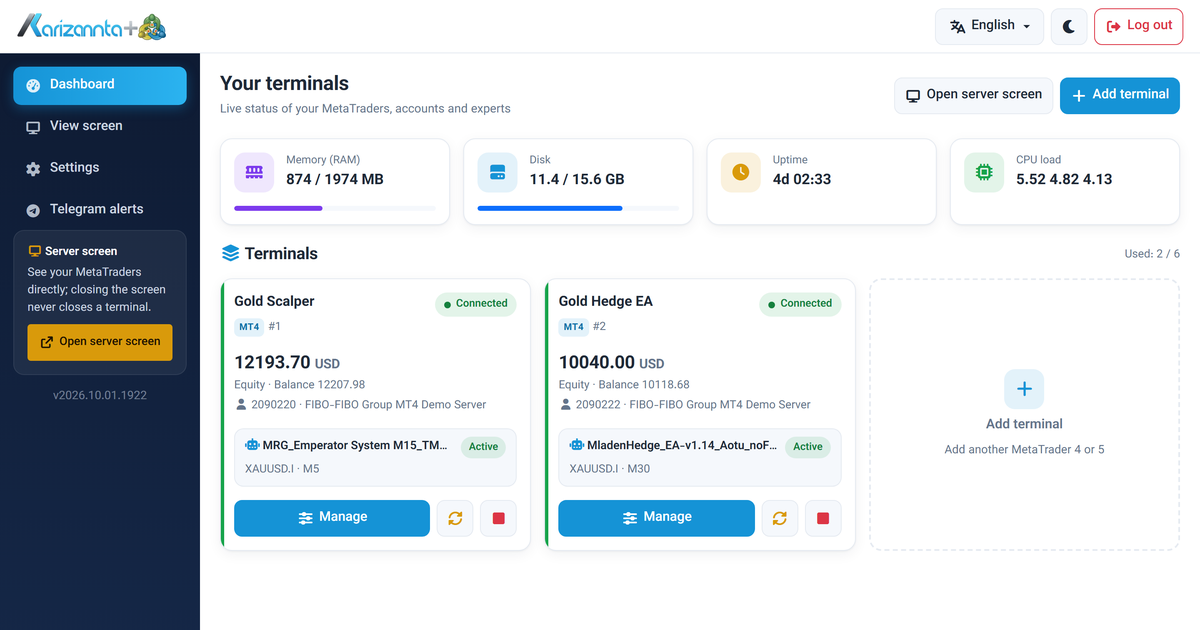
MetaTrader VPS on Linux: Run MT4 and MT5 Expert Advisors 24/7
A MetaTrader VPS that keeps MT4 and MT5 running on its own: automatic re-login after every restart, a web panel for accounts and expert advisors, and Telegram alerts. A tour with screenshots.
Read more →